
DIY or Local Repair? Finding Kite Repair Services in the UK
There are few sights less welcome than a kite coming down with a slow deflate, or a canopy that splits open the moment the wind fills it. You get it home, spread it across the living room floor, and face the question every kiter meets eventually: is this a job for spinnaker tape and twenty minutes, or does it need to go to someone who repairs kites for a living?
The answer comes down to three things — what is actually broken, how much your time is worth, and how soon you need the kite back in the air. Work those out and the decision usually makes itself.
Start with a proper diagnosis
Before you price anything up, inflate the kite, lay it out in good light and go over it methodically. Damage rarely travels alone: a canopy split often sits next to a scuffed bridle line, and a bladder that keeps going soft may have a failing valve rather than a puncture. Work through the usual suspects:
- Canopy tears and abrasion — note the length, whether it crosses a seam, and whether it sits in a high-load area near the leading edge or wingtip.
- Bladders and valves — inflate and listen. Fine bubbles at a valve, or a bladder that deflates overnight, points to different fixes.
- Stitching and seams — look for sun-rotted thread, pulled seams and anywhere the fabric has gone sticky or brittle.
- Bridles, pulleys and mixers — frayed lines, seized pulleys and stretched bridle legs all change how a kite flies.
- Spars, rods and connectors — a cracked spar or a worn ferrule is a genuine safety issue, not a cosmetic one.
- Lines and bar — wear near the leader lines and centre line often matters more than the kite itself.
Take photographs as you go, including one wide shot of the whole kite and close-ups of each fault. You will need them for quotes, and they help a repairer tell you honestly whether the job is worth doing.
Jobs that are genuinely DIY-friendly
Small canopy tears away from seams and load paths are the classic home repair. Clean the area, let it dry fully, and patch with purpose-made ripstop or spinnaker tape, cutting the patch with rounded corners so it does not peel from a sharp edge. Do not reach for gaffer tape or duct tape — they leave residue, fail under UV and make the next repair harder.
Bladder punctures are also manageable. Deflate, pull the bladder, find the leak with soapy water, and patch with a proper bladder patch before dusting with talc and refitting. Bridle line replacement, swapping a line set, and replacing worn pigtails are straightforward if you are methodical about measuring what came off first.
A basic home repair kit
- Ripstop or spinnaker repair tape in a sensible colour
- Bladder patches and a spare bladder for your kite size
- Replacement bridle line, pigtails and a few spare pulleys
- Sharp scissors, alcohol wipes, talc and a permanent marker
A sewing machine with a zigzag stitch is useful for webbing and non-structural stitching, but it is not a substitute for a proper seam repair on a loaded panel.
When to hand it to a specialist
Send it away if the damage runs across a seam, spans more than one panel, or sits anywhere that carries real load — the leading edge, wingtips, bridle attachment points and strut tops. Bladder replacement on a large kite is fiddly rather than difficult, but bonded valve replacement, leading-edge seam repairs and canopy work on high-aspect foil kites need proper equipment and experience.
The same applies to foil kites with internal ribs and cross-vents, to anything still under warranty, and to any repair you have already attempted and made worse. A repairer can often undo a failed DIY patch; they will charge more for it than they would have for the original job.
Where to find kite repairers in the UK
Start local. Your nearest kite shop or school sends kites off for repair regularly and will know who does dependable work and who does not. Sailmakers and sail lofts, especially those near the coast, already have the machines, thread and fabric experience that canopy work demands. Paragliding and paramotor repair centres are another good option, particularly for line work and ripstop.
Beyond that, kitesurfing clubs, regional Facebook groups and class forums are where recommendations actually circulate — a named repairer with a track record beats a generic search result every time. Whatever route you take, ask directly about kite-specific experience: bridle geometry, bladder materials and valve bonding are not skills you pick up on a yacht sail.
What to ask before you hand it over
- Is the figure a fixed quote or an estimate, and what would change it?
- How many working days will it take, realistically?
- Will they test-inflate the kite and check for anything else?
- Do they use original parts where possible, and can they colour-match the canopy?
- Is return postage and insurance included in the price?
Quotes, turnaround times and postage
Turnaround swings with the season. Repairers are busiest when everyone is riding, so a job that takes a few days in January can take considerably longer in July. If you have a second kite, or the damage is minor, sending it in during the off-season usually means a quicker turnaround and a calmer conversation.
Posting a kite is simple but not free. Deflate it fully, make sure it is bone dry, remove lines if asked, fold it as you would for storage, and pack it in a bag inside a box. Kites are light but bulky, so couriers often price on volume rather than weight — always ask for a total price including the return leg rather than comparing repair charges alone.
Photograph the kite before it goes in the box, and again if you get it back and something does not look right. A dated record of the damage makes any conversation about the work much easier.
Repair, replace, or retire?
Costs vary widely by repairer, region and the complexity of the job, so treat any figure as a starting point and confirm exactly what is included before work begins. The useful comparison is not repair cost against zero, but repair cost against what a replacement kite in similar condition would set you back — and against the value of the repaired kite if you ever sell it.
Two things tip the balance towards repair. First, a good repair in a non-structural area can last years and is often invisible from a metre away. Second, a kite with a sound canopy and healthy bridles is worth fixing even if the repair bill is not trivial, because the alternative is buying a whole new airframe to solve one localised problem. The reverse is also true: on an older kite with tired fabric, failing valves and stretched lines, a repair is putting money into something that will fail somewhere else next season.
If you are spending serious money, get the quote in writing and ask what happens if the repair fails. A reputable repairer will stand behind their work.
Making the call
Work through it in this order and you will rarely get it wrong:
- Diagnose properly, photograph everything, and list every fault — not just the obvious one.
- Fix small, clean, non-structural damage yourself with proper materials.
- Get two quotes for anything involving seams, valves, bridles or load paths.
- Ask about turnaround, what is included and return postage before committing.
- Compare the quote against replacement cost, and be honest about the kite's overall condition.
A kite is a simple thing to repair and a frustrating thing to repair badly. If the job is small, sort it on the kitchen floor this weekend. If it is not, spend an hour finding a repairer you trust — you will get the kite back flying properly, and you will know exactly who to call next time.
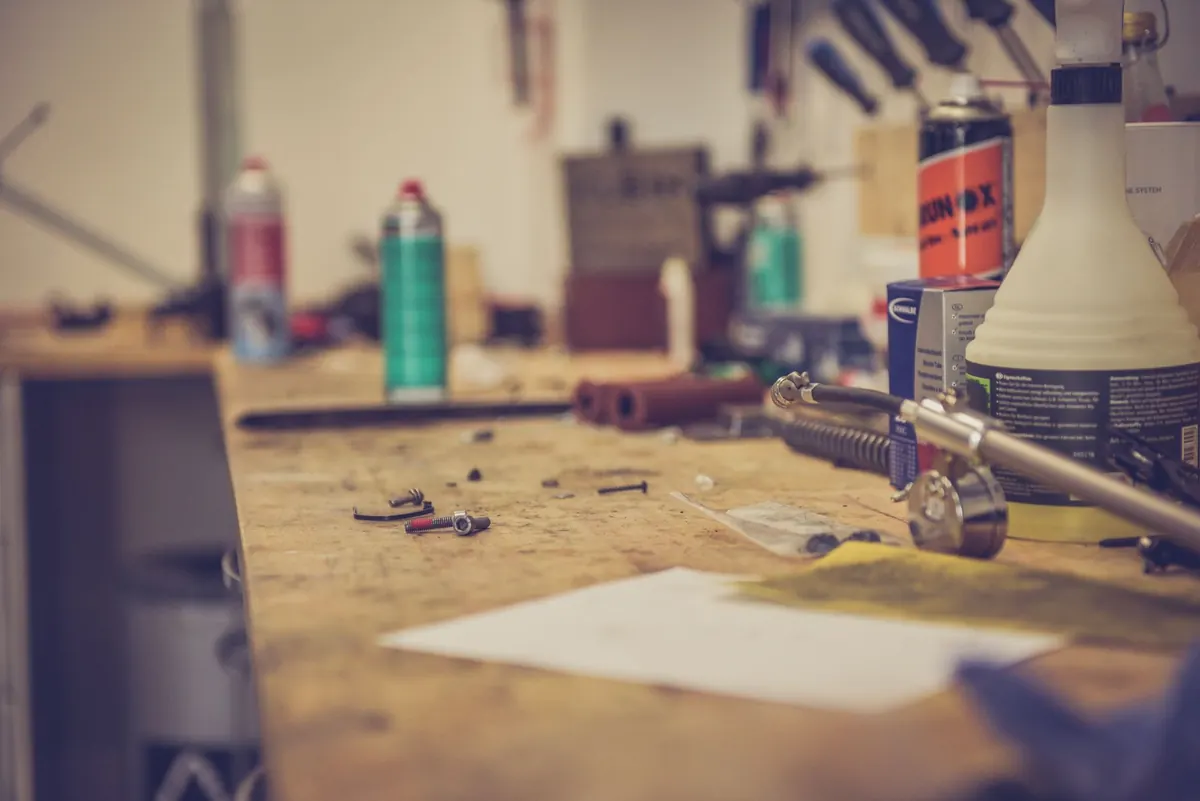
Photo: Alexander Dummer / Pexels