
Common Mistakes When Using Kite Repair Tape and How to Avoid Them
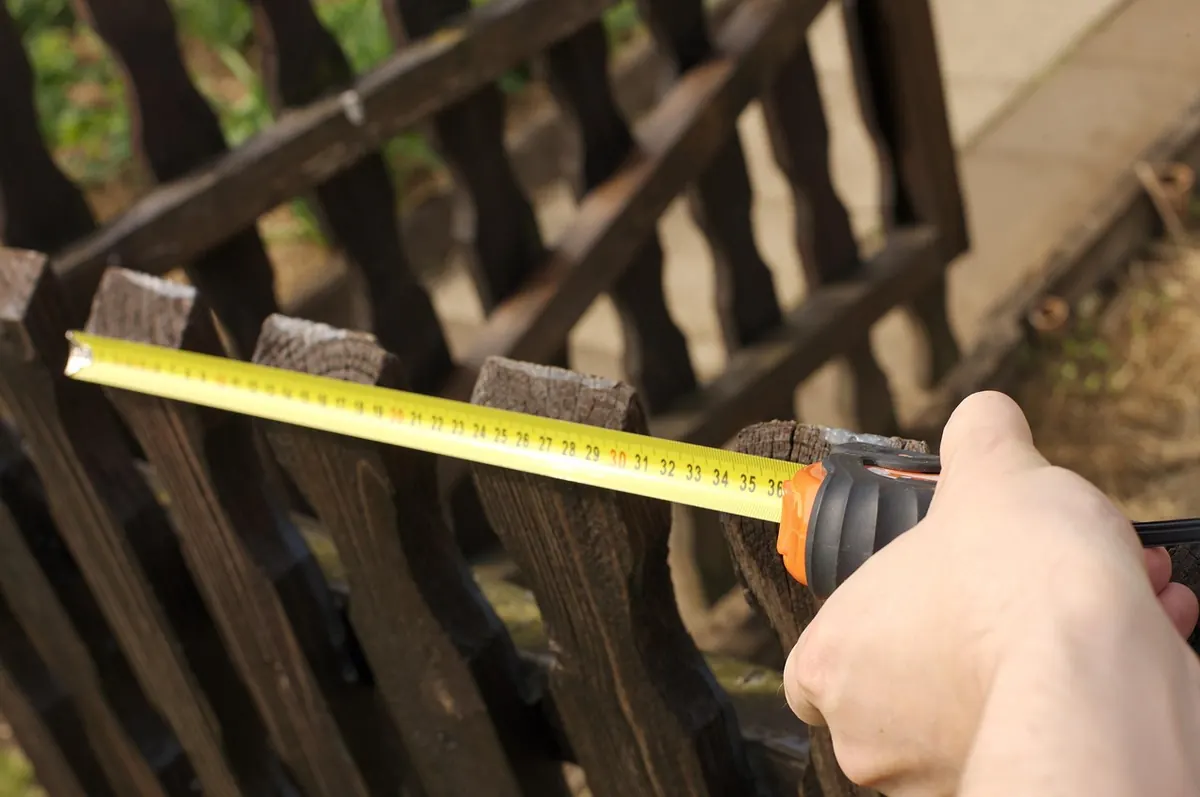
Tape is the fastest fix in kiting, which is exactly why it goes wrong so often. A patch takes two minutes, feels solid, and then peels off at the beach the following weekend. Most failures are not bad luck or cheap tape. They come from a handful of small habits: a damp surface, a square corner, a hurried press. Here is what to watch for, and how to get a repair that lasts a full season.
Using the wrong tape for the repair
Most kites are built from coated ripstop nylon, polyester or laminated Mylar, and each behaves differently under a sticky patch. The tape you grab in a hurry is often the tape that fails first. Duct tape is the classic offender: it looks tough, but its rubbery adhesive creeps in heat, leaves a grey residue that is awkward to remove, and can lift the coating off lightweight canopy fabric when you finally peel it away.
Match the material to the load and the location:
- Light canopy punctures and small tears: thin, clear spinnaker or sail repair tape. Low weight, flexible, and it lets you see the fabric underneath.
- Leading edge, struts and loaded seams: heavier Dacron or woven sail tape, or a proper adhesive patch. These areas stretch and flex, and thin tape will creep.
- Bladders: bladder-specific patches only. Canopy tape on a bladder usually fails at the first inflation.
- Temporary field fixes: better than a ripped kite, but mark it and replace it at home. A temporary patch is not a repair.
Check the age of the tape, too. A roll that has spent two summers in a hot car has lost much of its grab.
Taping over a wet, sandy or oily surface
Adhesive does not stick to water. It cannot stick to sand, salt crystals or sunscreen either. A patch applied on a damp beach on a cold morning is a patch that will be flapping by lunchtime.
Before the tape comes out, do this properly:
- Wipe the area with fresh water to remove salt and grit.
- Dry it thoroughly — a clean towel, then a few minutes in the sun or in a warm car.
- If you have isopropyl alcohol or a surface prep wipe, use it, then let it flash off completely.
- Skip spit and wet wipes. Both leave a film behind that adhesive cannot grip.
On cold days, condensation forms as fabric warms up, so check the surface again just before you press the tape down. If rain is blowing in, move indoors or wait. Two minutes saved now can cost you the whole session later.
Leaving sharp corners on the patch
A square or rectangular patch concentrates peeling force at its corners. That is where it starts to lift, and once one corner goes, the rest follows. Round every corner generously — a radius of about 10 mm on a typical canopy patch. An oval or circular patch is better still where you have the room.
Corners also catch on lines, bridles and the ground. A neat, rounded patch slides past a bridle; a square one snags, lifts, and then peels back along the whole edge.
While the scissors are out, trim any loose threads from the tear first. Frayed edges underneath a patch create a lumpy surface and a weak bond. If the fabric has torn in a line, pull the two edges together neatly rather than overlapping them, then tape over the closed tear.
Skimping on overlap
A patch is only as strong as the bond between tape and sound fabric. Aim for at least 25 mm of clean overlap on every side of the damage, and more on high-load areas such as the leading edge, strut attachments and bridle points. Two specific traps catch people out:
- Taping a seam without anchoring both panels. The tape must sit on sound fabric either side of the seam, not just on the seam itself.
- Butting tape up to an edge. On a leading edge or wingtip, wrap the tape around the fold and onto the other side. A patch that stops at the edge has nothing holding it back.
Think about direction of pull as well. Lines load the canopy along particular axes. If the damage sits on a loaded axis, run the long side of the patch across that axis rather than along it.
Fighting a flapping, twisted canopy
Trying to stick tape onto a kite that is snapping in the wind is a lesson in frustration. Deflate a leading-edge inflatable just enough to relieve the stress, but keep the kite roughly in shape so you do not glue in a crease. Lay a foil kite flat and smooth the cell by hand.
Get help if you can. A second pair of hands to hold the fabric taut is worth more than any tool. Work from the centre of the patch outwards, pressing as you go, and do not stretch the tape. Stretched tape springs back and lifts a day or two later, usually on the water.
Not pressing properly, and ignoring temperature
Peel-and-stick is a slight misnomer. Most repair tapes need firm pressure to push the adhesive into the weave of the cloth, and they carry on bonding for a while afterwards. A quick rub with a thumb is not enough.
Press hard and work along the tape with your thumb, the back of a spoon or a seam roller. A slow pass with real weight behind it makes a difference you can feel. Then give the repair time before it flies — an hour at room temperature at least, longer in the cold.
Temperature matters more than most people expect. Below roughly 10°C, many adhesives lose their tack and the bond never forms properly. Warm the tape and the fabric with your hands, or a hairdryer on a low setting, press it down, and let it cool in place. And never peel a patch off to reposition it. The adhesive picks up dust and fluff immediately, and the second press will be weaker than the first.
A five-minute repair checklist
Before you fly with a fresh patch, run through this:
- Surface clean, dry and free of salt, sand and oil.
- Tape matched to the material and the load.
- Corners rounded, loose threads trimmed.
- At least 25 mm of overlap onto sound fabric all round.
- Pressed hard from the centre outwards, with warmth if it is cold.
- Left to sit before flying, then checked after the session.
Keep a small repair kit in the car: sharp scissors, a clean cloth, alcohol wipes, a short length of Dacron tape and a roll of thin clear tape. Test any repair in light wind first, and inspect it after each session for a while. A patch that is starting to lift at one edge will come off entirely if you ignore it. Catch it early, press it down, or replace it. A good repair should be boring — it sits there for years and you forget it exists.
Photo: andreas160578 / Pixabay